Installing BHR
Warning
It is highly recommended to test this application within a lab environment prior to injecting routes into a production network, as this could result in unexpected network behavior or outages.
We shouldn't have to say this, but...please don't test in production. 🙂
Setting up your BHR environment
First, create a directory to hold the BHR repositories:
$ mkdir -p /opt/bhr
$ cd /opt/bhr
Clone the bhr-site and bhr-client-exabgp repositories to your directory:
$ git clone https://github.com/ncsa/bhr-site.git
$ git clone https://github.com/ncsa/bhr-client-exabgp.git
Next, create the directories templates and postgres-data.
$ mkdir templates
$ mkdir postgres-data
templateswill be used to hold your ExaBGP template filepostgres-datawill be used as a persistent volume for your PostgreSQL database.
Copy the following file to docker-compose.yml, using your preferred text editor.
version: '3'
services:
    db:
      image: postgres
      env_file:
        - bhr.env
      volumes:
        - ./postgres-data:/var/lib/postgresql/data
    web:
      image: nginx
      ports:
        - 80:80
        - 443:443
      volumes:
        - ./nginx/certs:/etc/nginx/certs:z
        - ./nginx/nginx.conf:/etc/nginx/nginx.conf:ro
        - ./bhr-site/staticfiles:/static/static
    bhr-site:
      build:
        context: ./bhr-site
        dockerfile: Dockerfile
      command: gunicorn bhr_site.wsgi --bind=0.0.0.0:8000 --workers=8 --timeout=45 --max-requests=500 --log-file -
      volumes:
        - ./bhr-site:/app
        - ./settings_local.py:/app/bhr_site/settings_local.py
      ports:
        - "8000:8000"
      depends_on:
        - db
      environment:
        - PYTHONPATH=/app/bhr_site
      env_file:
        - bhr.env
    bhr-exabgp:
      build:
        context: ./bhr-client-exabgp
        dockerfile: Dockerfile
      env_file:
        - bhr.env
      volumes:
        - ./templates:/code/templates
Copy the following environment variable to bhr.env. We will be modifying this file throughout the build process.
# PostgreSQL environment variables
POSTGRES_DB=bhr
POSTGRES_PASSWORD=set_your_db_password_here

# bhr-site environment variables
DATABASE_URL=postgres://postgres:set_your_db_password_here_too@db/bhr

# bhr-client-exabgp variables
BHR_HOST=http://bhr-site:8000
BHR_TOKEN=your_api_token
BHR_IDENT=bhr
BHR_TEMPLATE=/code/templates/template.mako
Note
Do not modify the BHR_HOST variable. This name is used internally by Docker, and changing this can cause BHR to break.
Change the POSTGRES_PASSWORD and DATABASE_URL variables to a secure password. This will be the password that is used by PostgreSQL.
Starting PostgreSQL
We'll begin by starting the PostgreSQL database using docker-compose. Run the following command to start PostgreSQL:
$ docker-compose up -d db
After running docker-compose ps, you should see the following output:
$ docker-compose ps
  Name                Command              State    Ports
-----------------------------------------------------------
bhr_db_1   docker-entrypoint.sh postgres   Up      5432/tcp
Configuring nginx
In order to enable TLS for bhr-site, we will need to configure an Nginx container to proxy connections to bhr-site.
Begin by creating directories for storing your SSL certificates and Nginx config.
$ mkdir -p nginx/certs
Copy your certificate (.crt) and key (.key) files to nginx/certs/.
If you wish to create a self-signed certificate for your build, run the following command. Replace "your.domain.here.com" with the hostname of your server.
$ openssl req -subj /CN=your.domain.here.com -x509 -newkey rsa:4096 -nodes -keyout nginx/certs/bhr.key -out nginx/certs/bhr.crt -days 365
Next, copy the following file to nginx/nginx.conf:
pid /run/nginx.pid;
include /etc/nginx/modules-enabled/*.conf;
events {
        worker_connections 768;
        # multi_accept on;
}
http {
        sendfile on;
        tcp_nopush on;
        tcp_nodelay on;
        keepalive_timeout 65;
        types_hash_max_size 2048;
        include /etc/nginx/mime.types;
        default_type application/octet-stream;
        ssl_protocols TLSv1.2; # Dropping SSLv3, ref: POODLE
        ssl_prefer_server_ciphers on;
        access_log /var/log/nginx/access.log;
        error_log /var/log/nginx/error.log;
        gzip on;

        server {
            listen 80;
            server_name localhost;
            return 301 https://$host$request_uri;
        }

       server {
            listen 443 ssl;
            server_name localhost;
            ssl_certificate /etc/nginx/certs/bhr.crt;
            ssl_certificate_key /etc/nginx/certs/bhr.key;
            location / {
                proxy_pass http://bhr-site:8000/;
                error_log /var/log/front_end_errors.log;
            }
            location /static/ {
                root /static;
            }
       }
}
Note
Do not modify the proxy_pass variable. This name is used internally by Docker, and changing this can cause BHR to break.
Make sure to modify the server_name to the name of your server in this file. Also, if you imported your own keys, make sure to change the .crt and .key file names to match your certificate and key files.
Starting bhr-site
Before we start bhr-site, we need to create a local Django settings file to contain our domains.
Run the following command and copy the output.
openssl rand -base64 48
Copy the following file to settings_local.py
and set the SECRET_KEY variable value to the output from the openssl command above
LOCAL_SETTINGS = True  # do not touch
from settings import * # do not touch

DEBUG = False
ALLOWED_HOSTS = ['localhost', 'bhr-site']
CSRF_COOKIE_SECURE = True
SESSION_COOKIE_SECURE = True

# openssl rand -base64 48
SECRET_KEY = ''

STATIC_ROOT="/app/staticfiles"

BHR = {
    'time_multiplier':              2.0,
    'time_window_factor':           2.0,
    'minimum_time_window':          43200.0,
    'penalty_time_multiplier':      2.0,
    'return_to_base_multiplier':    2.0,
    'return_to_base_factor':        2.0,
    'unauthenticated_limited_query':  True,
    'local_networks':               ['10.0.0.0/8'],
    'minimum_prefixlen':            23,
    'minimum_prefixlen_v6':         64,
}
Next, build bhr-site using the following command:
$ docker-compose build bhr-site
Once the build process finishes, run the following docker-compose commands to configure bhr-site:
$ docker-compose run --rm bhr-site python manage.py migrate
$ docker-compose run --rm bhr-site python manage.py createsuperuser
$ docker-compose run --rm bhr-site python manage.py creategroups
$ docker-compose run --rm bhr-site python manage.py collectstatic
After running the createsuperuser command, you will be prompted to configure the default BHR admin account.
Once this is complete, start bhr-site using the following command:
$ docker-compose up -d web bhr-site
After running docker-compose ps, you should see the following output:
$ docker-compose ps
     Name                   Command               State                    Ports
--------------------------------------------------------------------------------------------------
bhr_bhr-site_1   python manage.py runserver ...   Up      0.0.0.0:8000->8000/tcp
bhr_db_1         docker-entrypoint.sh postgres    Up      5432/tcp
bhr_web_1        /docker-entrypoint.sh ngin ...   Up      0.0.0.0:443->443/tcp, 0.0.0.0:80->80/tcp
Configuring bhr-site
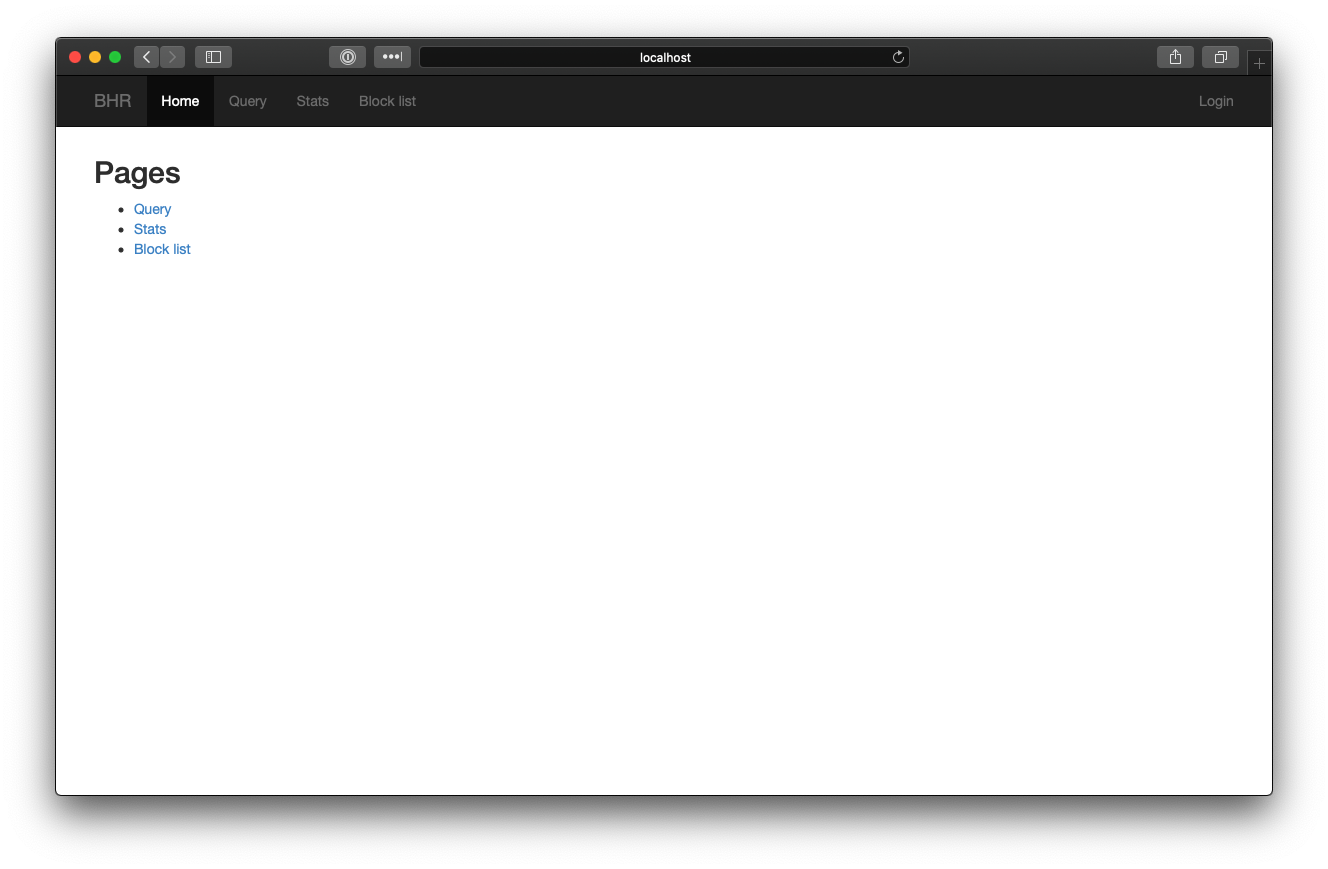
Verify that you can access BHR by browsing to https://your.domain.here.com
You should see the following page if everything is running as expected.
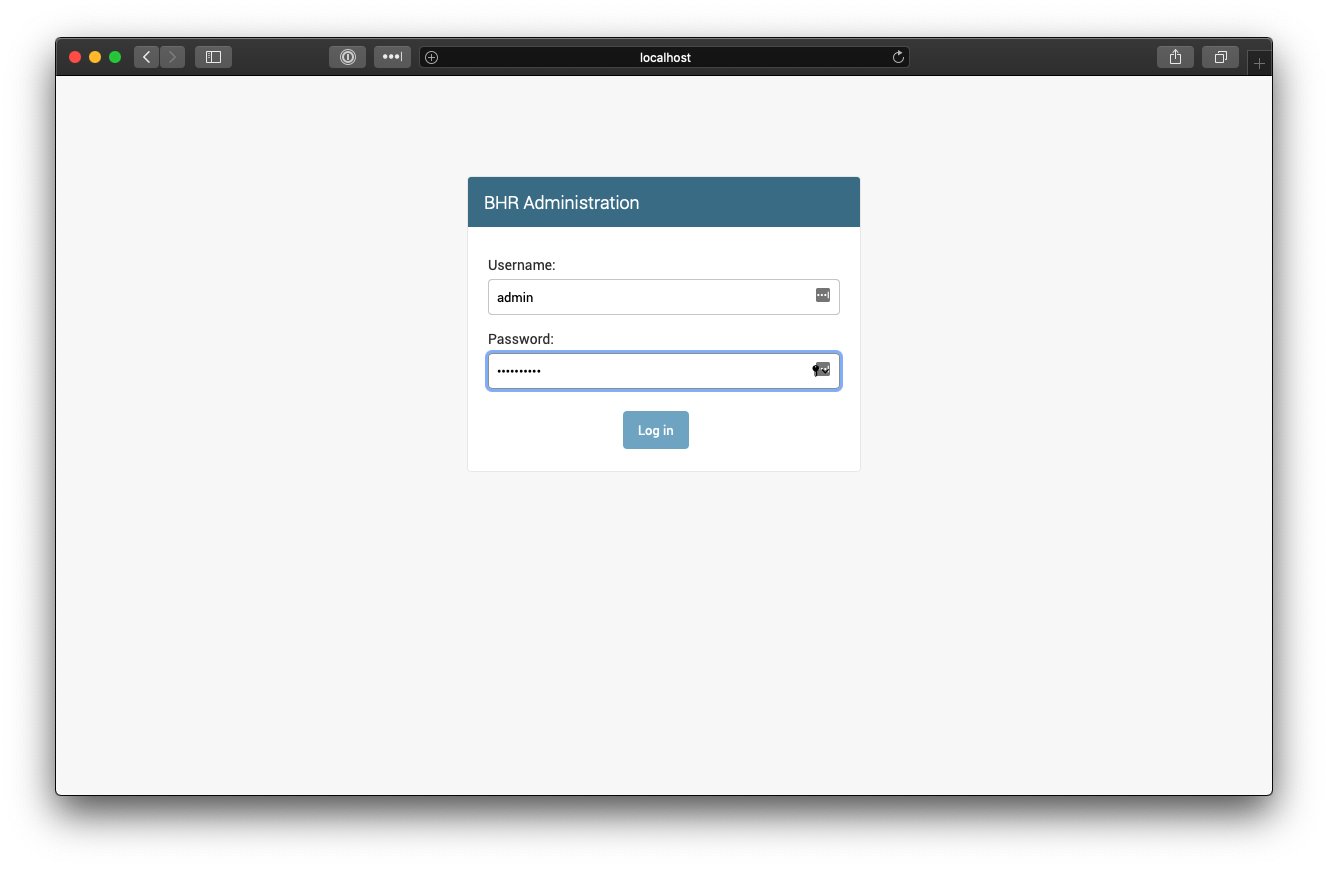
Navigate to https://your.domain.here.com/admin, and login with the credentials you set in Starting bhr-site.
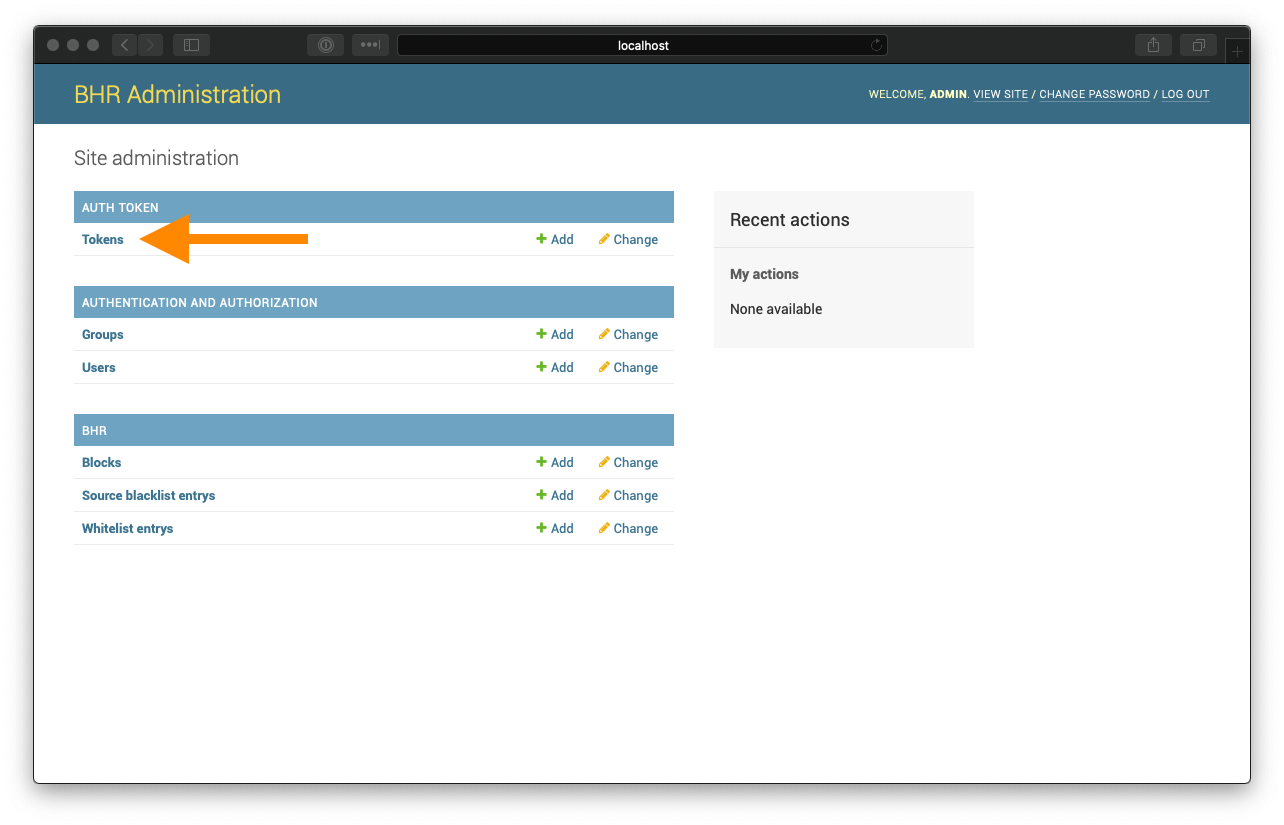
After logging in, click "Tokens".
Click "ADD TOKEN"
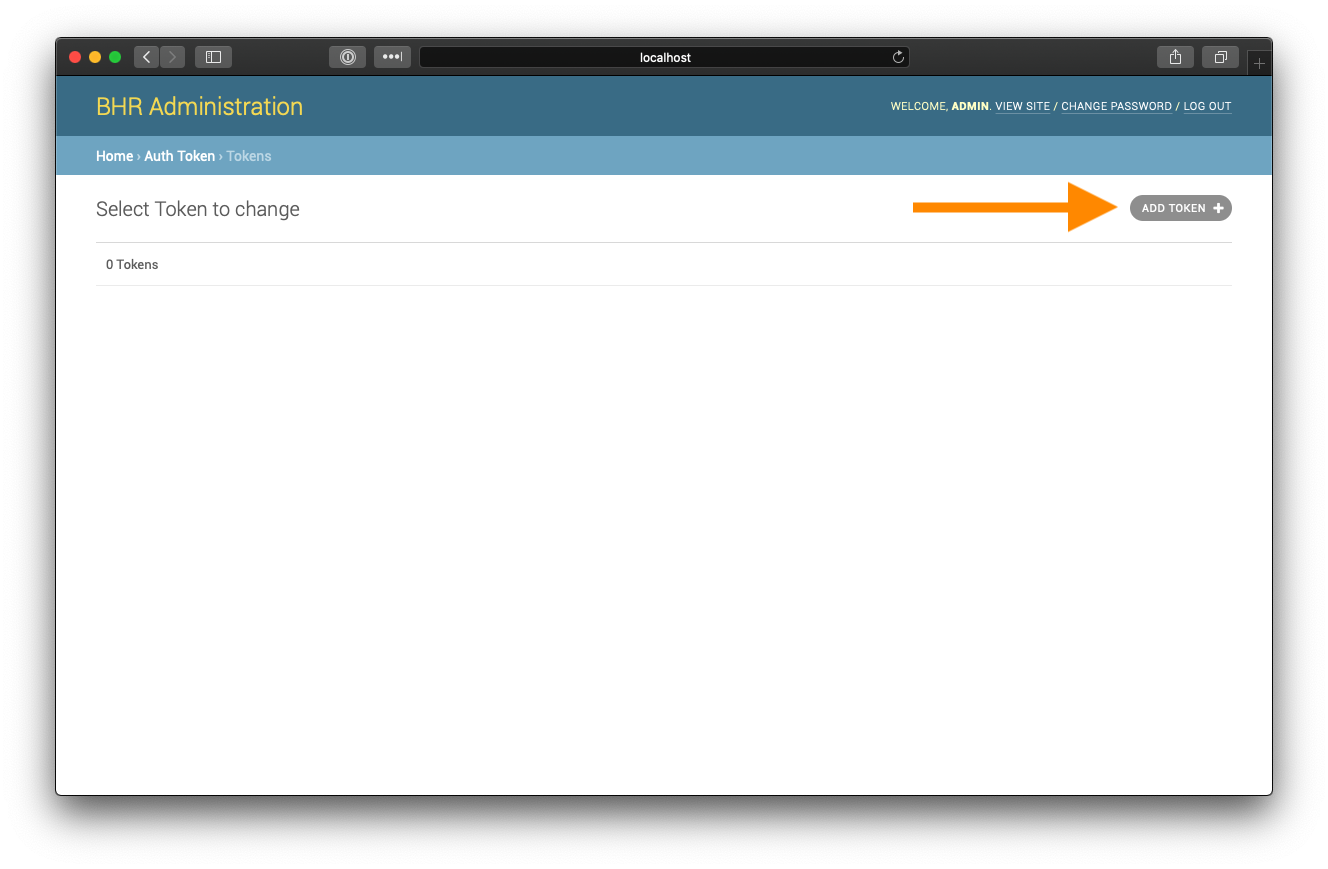
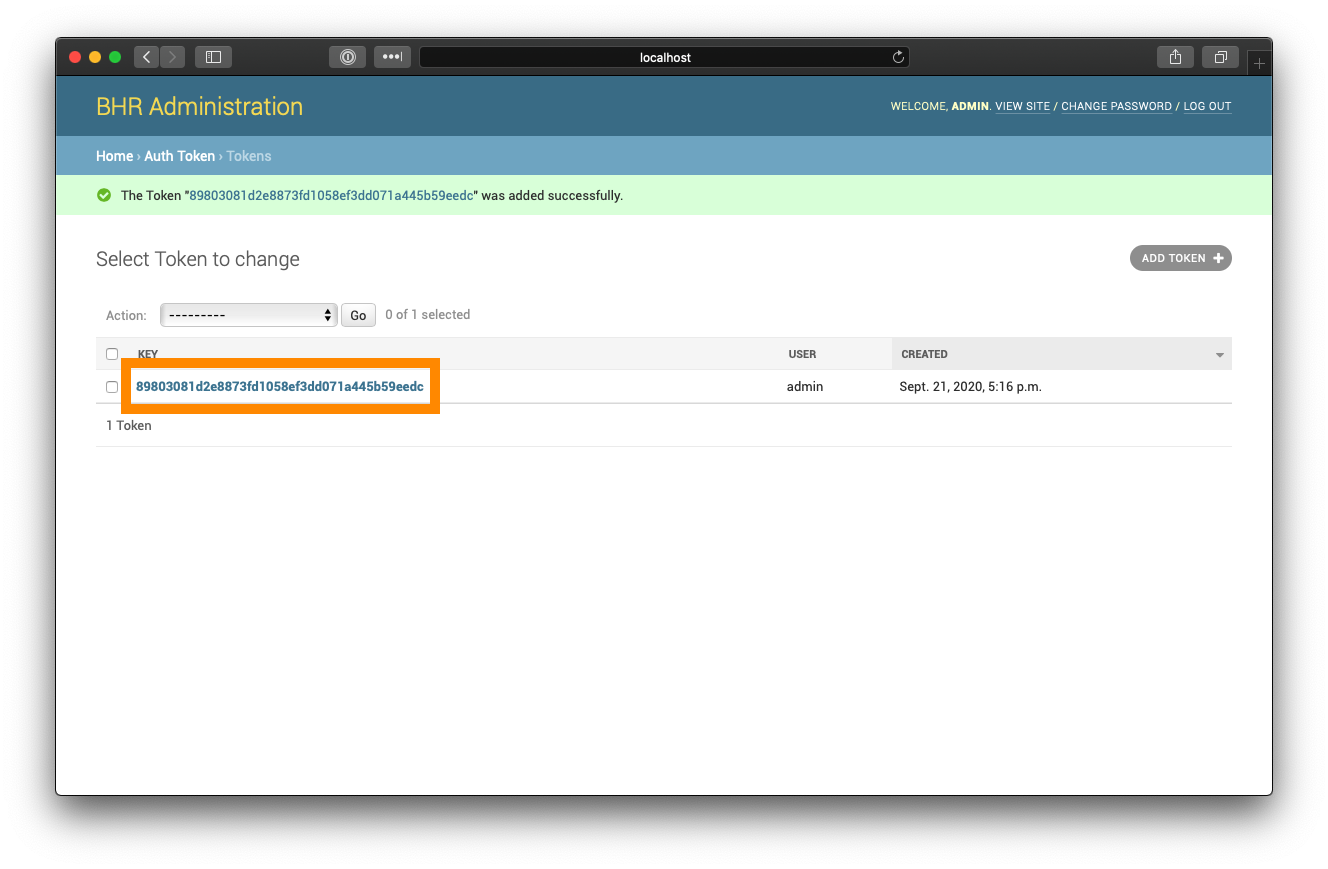
Select your username from the dropdown list, and click "Save"
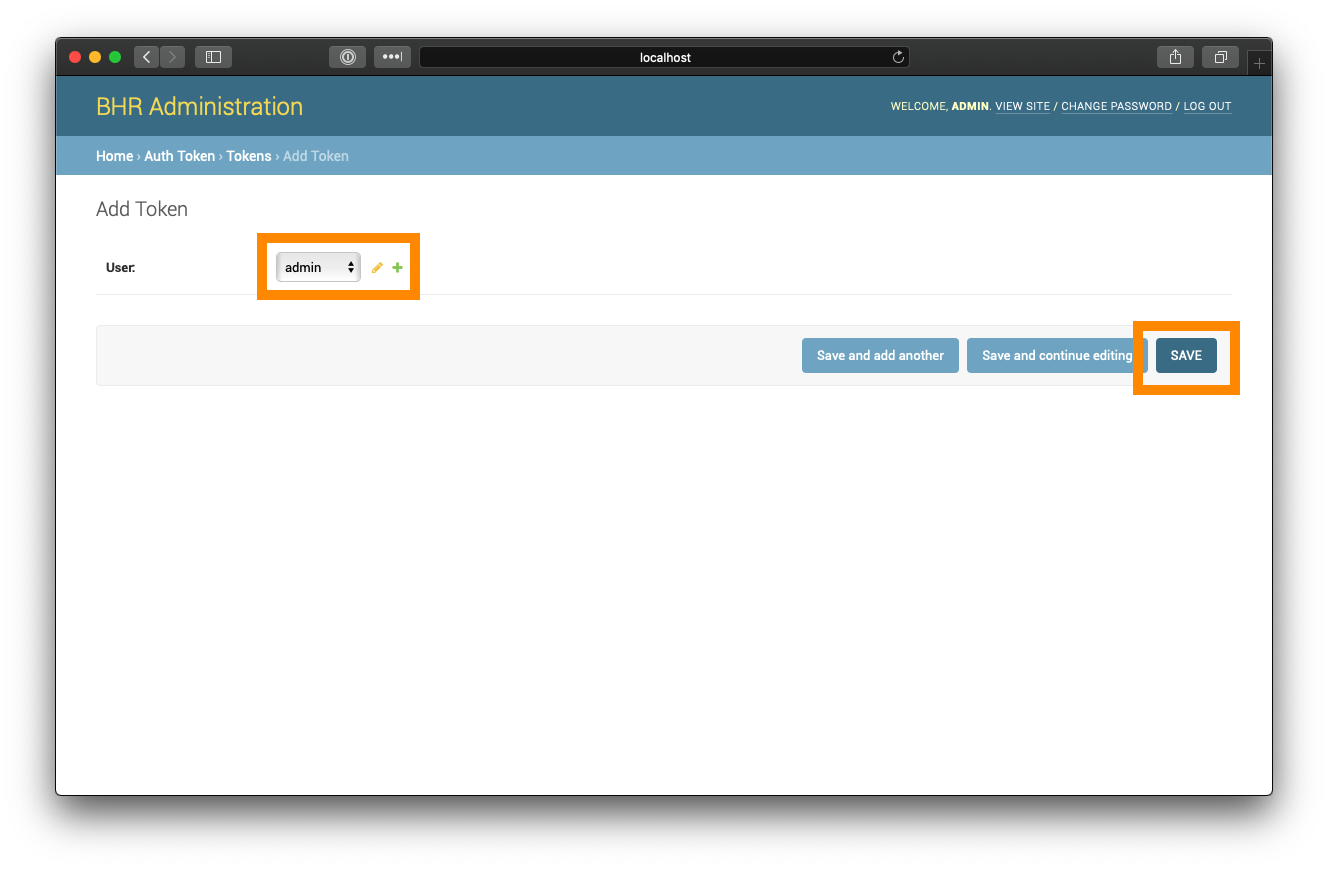
The token that is created will be the BHR API token for this user. Save this value for use later.
Configuring bhr-client-exabgp
Caution
We recommend working with your Network Engineers to determine the proper values for these settings prior to running BHR in production.
Copy the following file to templates/template.mako.
<%def name="block_v4(action, cidrs)" filter="trim">
${action} attribute next-hop ${ipv4} community [ 65142:666 no-export ] nlri ${" ".join(cidrs)}
<!--%def-->
<%def name="block_v6(action, cidrs)" filter="trim">
    ${action} attribute next-hop ${ipv6} community [ 65142:666 no-export ] nlri ${" ".join(cidrs)}
<!--%def-->
<%def name="block(action, cidrs)" filter="trim">
## cidrs are grouped by v4 or v6. If one address is v4, they all are.
%if ':' in cidrs[0]:
    ${block_v6(action, cidrs)}
%else:
    ${block_v4(action, cidrs)}
%endif
<!--%def-->

group edgerouters {
    peer-as 65000;
    local-as 64512;
    hold-time 3600;
    router-id ${ip};
    local-address ${ip};
    graceful-restart 1200;
    group-updates;

    md5 'hello';
    static {
    }
    process bhr-dynamic {
        # auto filled in by bhr-client-exabgp-write-template
        run ${path_to_bhr_client_exabgp_loop};
    }

    neighbor 192.168.2.201 {
        description "edge-1";
    }

}
You will most likely want to modify the following values:
- peer-as
- local-as
- router-id
- local-address
- neighbor
As well as setting the proper AS values in the following lines:
${action} attribute next-hop ${ipv4} community [ 65142:666 no-export ] nlri ${" ".join(cidrs)}

${action} attribute next-hop ${ipv6} community [ 65142:666 no-export ] nlri ${" ".join(cidrs)}
For testing purposes, you can leave these values as is.
Next, we will want to modify the bhr.env file with the API token created in Configuring bhr-site.
Note
Do not modify the BHR_HOST variable. This name is used internally by Docker, and changing this can cause BHR to break.
Modify the BHR_TOKEN environment variable to contain this API token.
# bhr-client-exabgp variables
BHR_HOST=http://bhr-site:8000
BHR_TOKEN=your_api_token
BHR_IDENT=bhr
BHR_TEMPLATE=/code/templates/template.mako
Once these files have been written, build the bhr-exabgp image.
$ docker-compose build bhr-exabgp
Starting bhr-client-exabgp
Now, we want to start the bhr-client-exabgp container to start handling new BHR entries. Run the following command to start bhr-client-exabgp.
$ docker-compose up -d bhr-exabgp
After running docker-compose ps, you should see the following output:
$ docker-compose ps
      Name                    Command               State           Ports
----------------------------------------------------------------------------------
bhr_bhr-exabgp_1   /bin/sh -c /code/examples/ ...   Up
bhr_bhr-site_1     python manage.py runserver ...   Up      0.0.0.0:8000->8000/tcp
bhr_db_1           docker-entrypoint.sh postgres    Up      5432/tcp
If everything is successful, you should see the following in the output of docker-compose logs bhr-exabgp
bhr-exabgp_1  | Mon, 21 Sep 2020 17:40:10 | INFO     | 7      | reactor       | New peer setup: neighbor 192.168.2.201 local-ip 172.21.0.4 local-as 64512 peer-as 65000 router-id 172.21.0.4 family-allowed in-open
bhr-exabgp_1  | Mon, 21 Sep 2020 17:40:10 | INFO     | 7      | configuration | Loaded new configuration successfully
bhr-exabgp_1  | Mon, 21 Sep 2020 17:40:10 | INFO     | 7      | processes     | Forked process bhr-dynamic